

Configuring Your Product
After creating your product, you can customize how it's delivered, how customers purchase it, and how your product appears across WeTynk.
To configure a product, open Courses from your dashboard and select the product you want to edit.
You'll find several tabs where you can manage different parts of your product.
Delivery
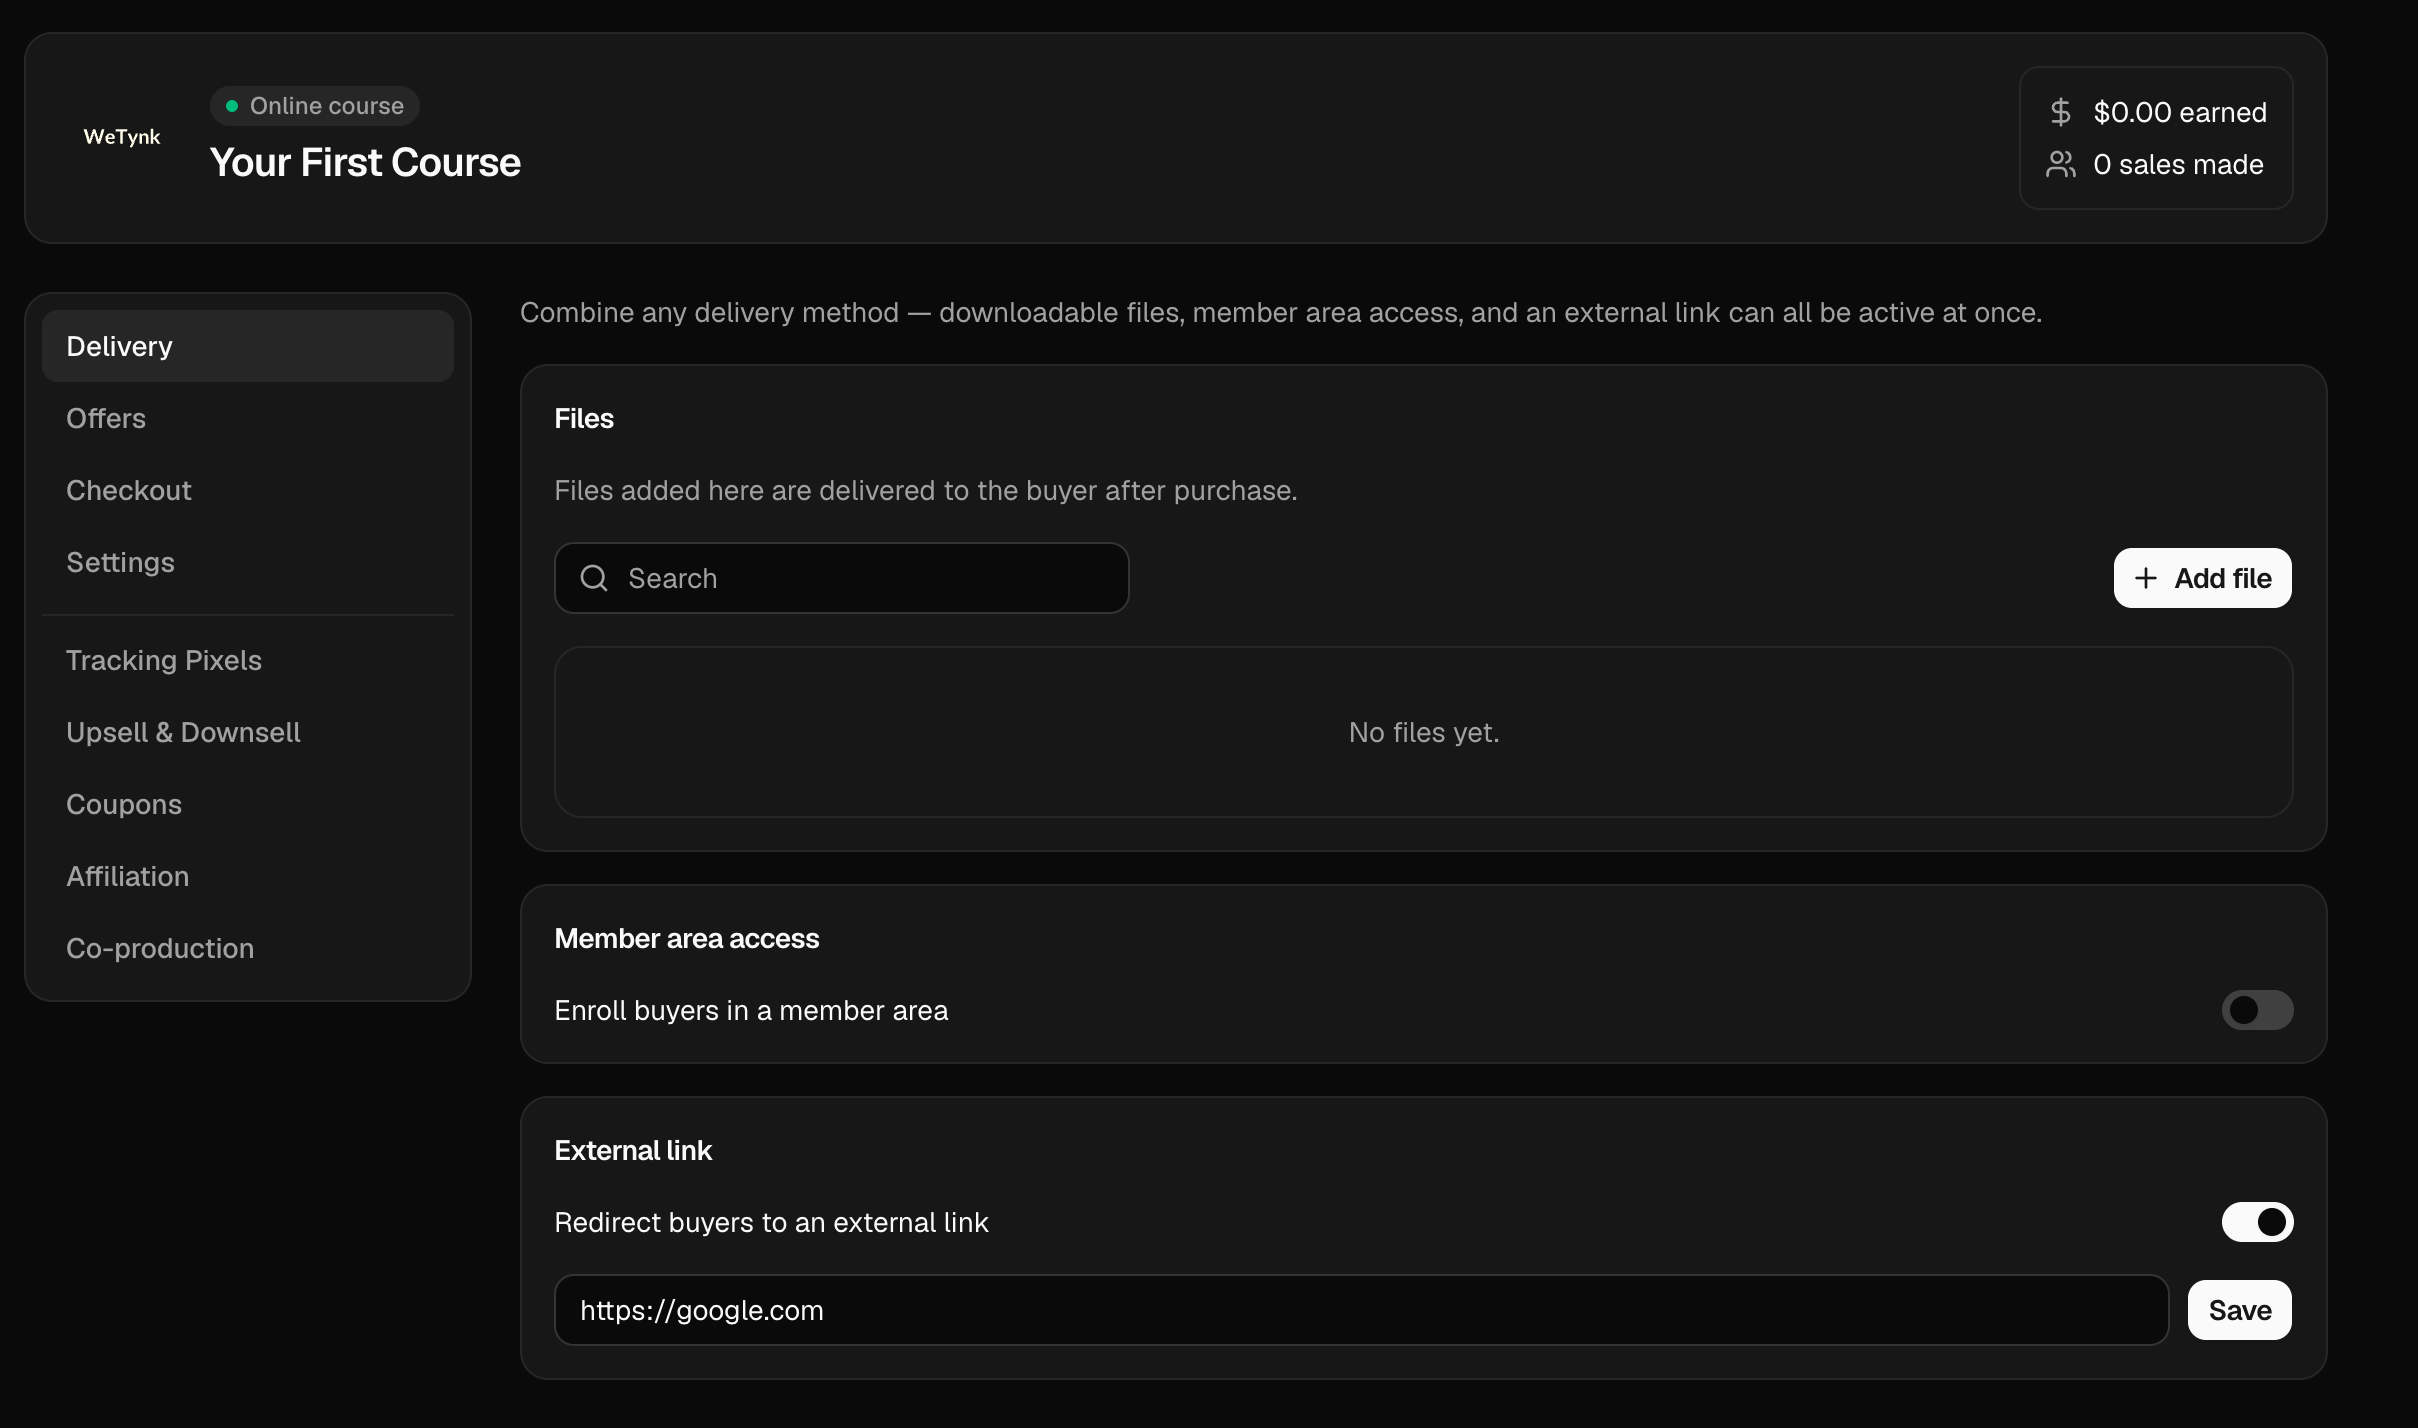
The Delivery tab controls how customers receive your product after purchasing.
You can combine multiple delivery methods — downloadable files, Member Area access, and external links can all be active at the same time.
Files
Add downloadable files that customers can access after purchasing.
This is useful for:
PDFs
Spreadsheets
Templates
Documents
Other downloadable materials
Member Area
Connect your product to a WeTynk Member Area.
Customers will be able to access the content you've configured inside the Member Area after purchasing.
You can use this for courses, video lessons, content libraries, and other products that require a structured customer experience.
External Links
Add one or more external links where customers can access their purchase.
For example, you can link to Google Drive, an external download, or another platform.
Remember that external links may be monitored for security, abuse, fraud, scams, or other policy violations. Using prohibited or fraudulent content may result in enforcement action, including account suspension or termination and the retention of funds associated with affected transactions.
Offer
The Offer tab is where you manage how customers can purchase your product.
If you haven't created a Sales Page yet, you can still sell your product using a direct payment link.
Payment Links
A payment link gives your customers a direct way to purchase your product.
You can create multiple payment links for the same product and use different offers for different campaigns or audiences.
For example, you could create separate offers with different prices, discounts, or promotional strategies.
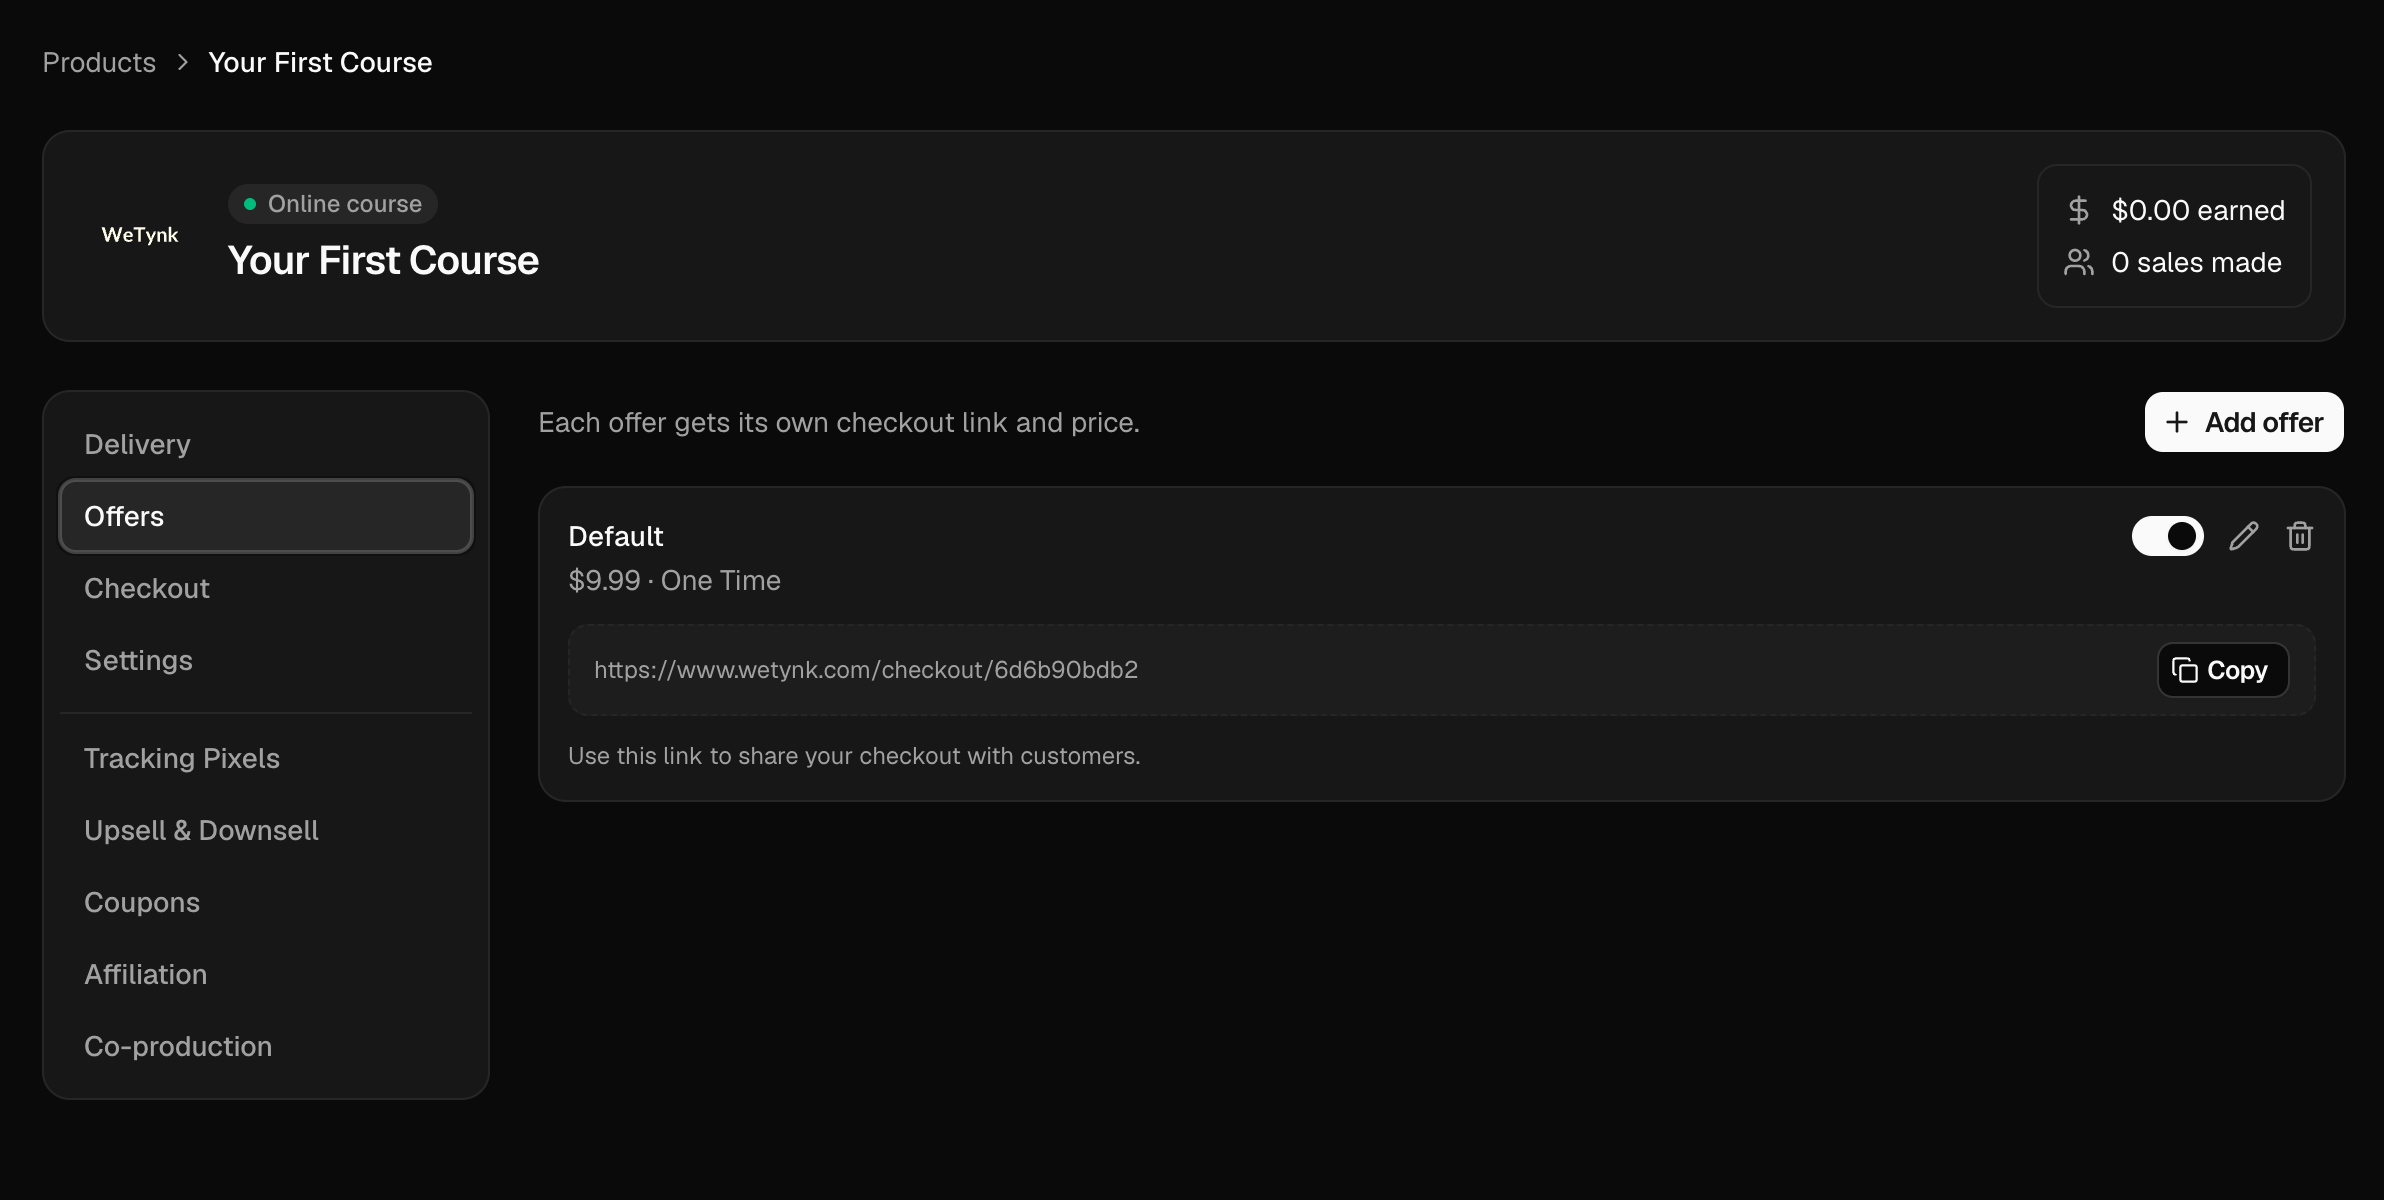
You can create a new payment link whenever you need another offer for your product.
Checkout
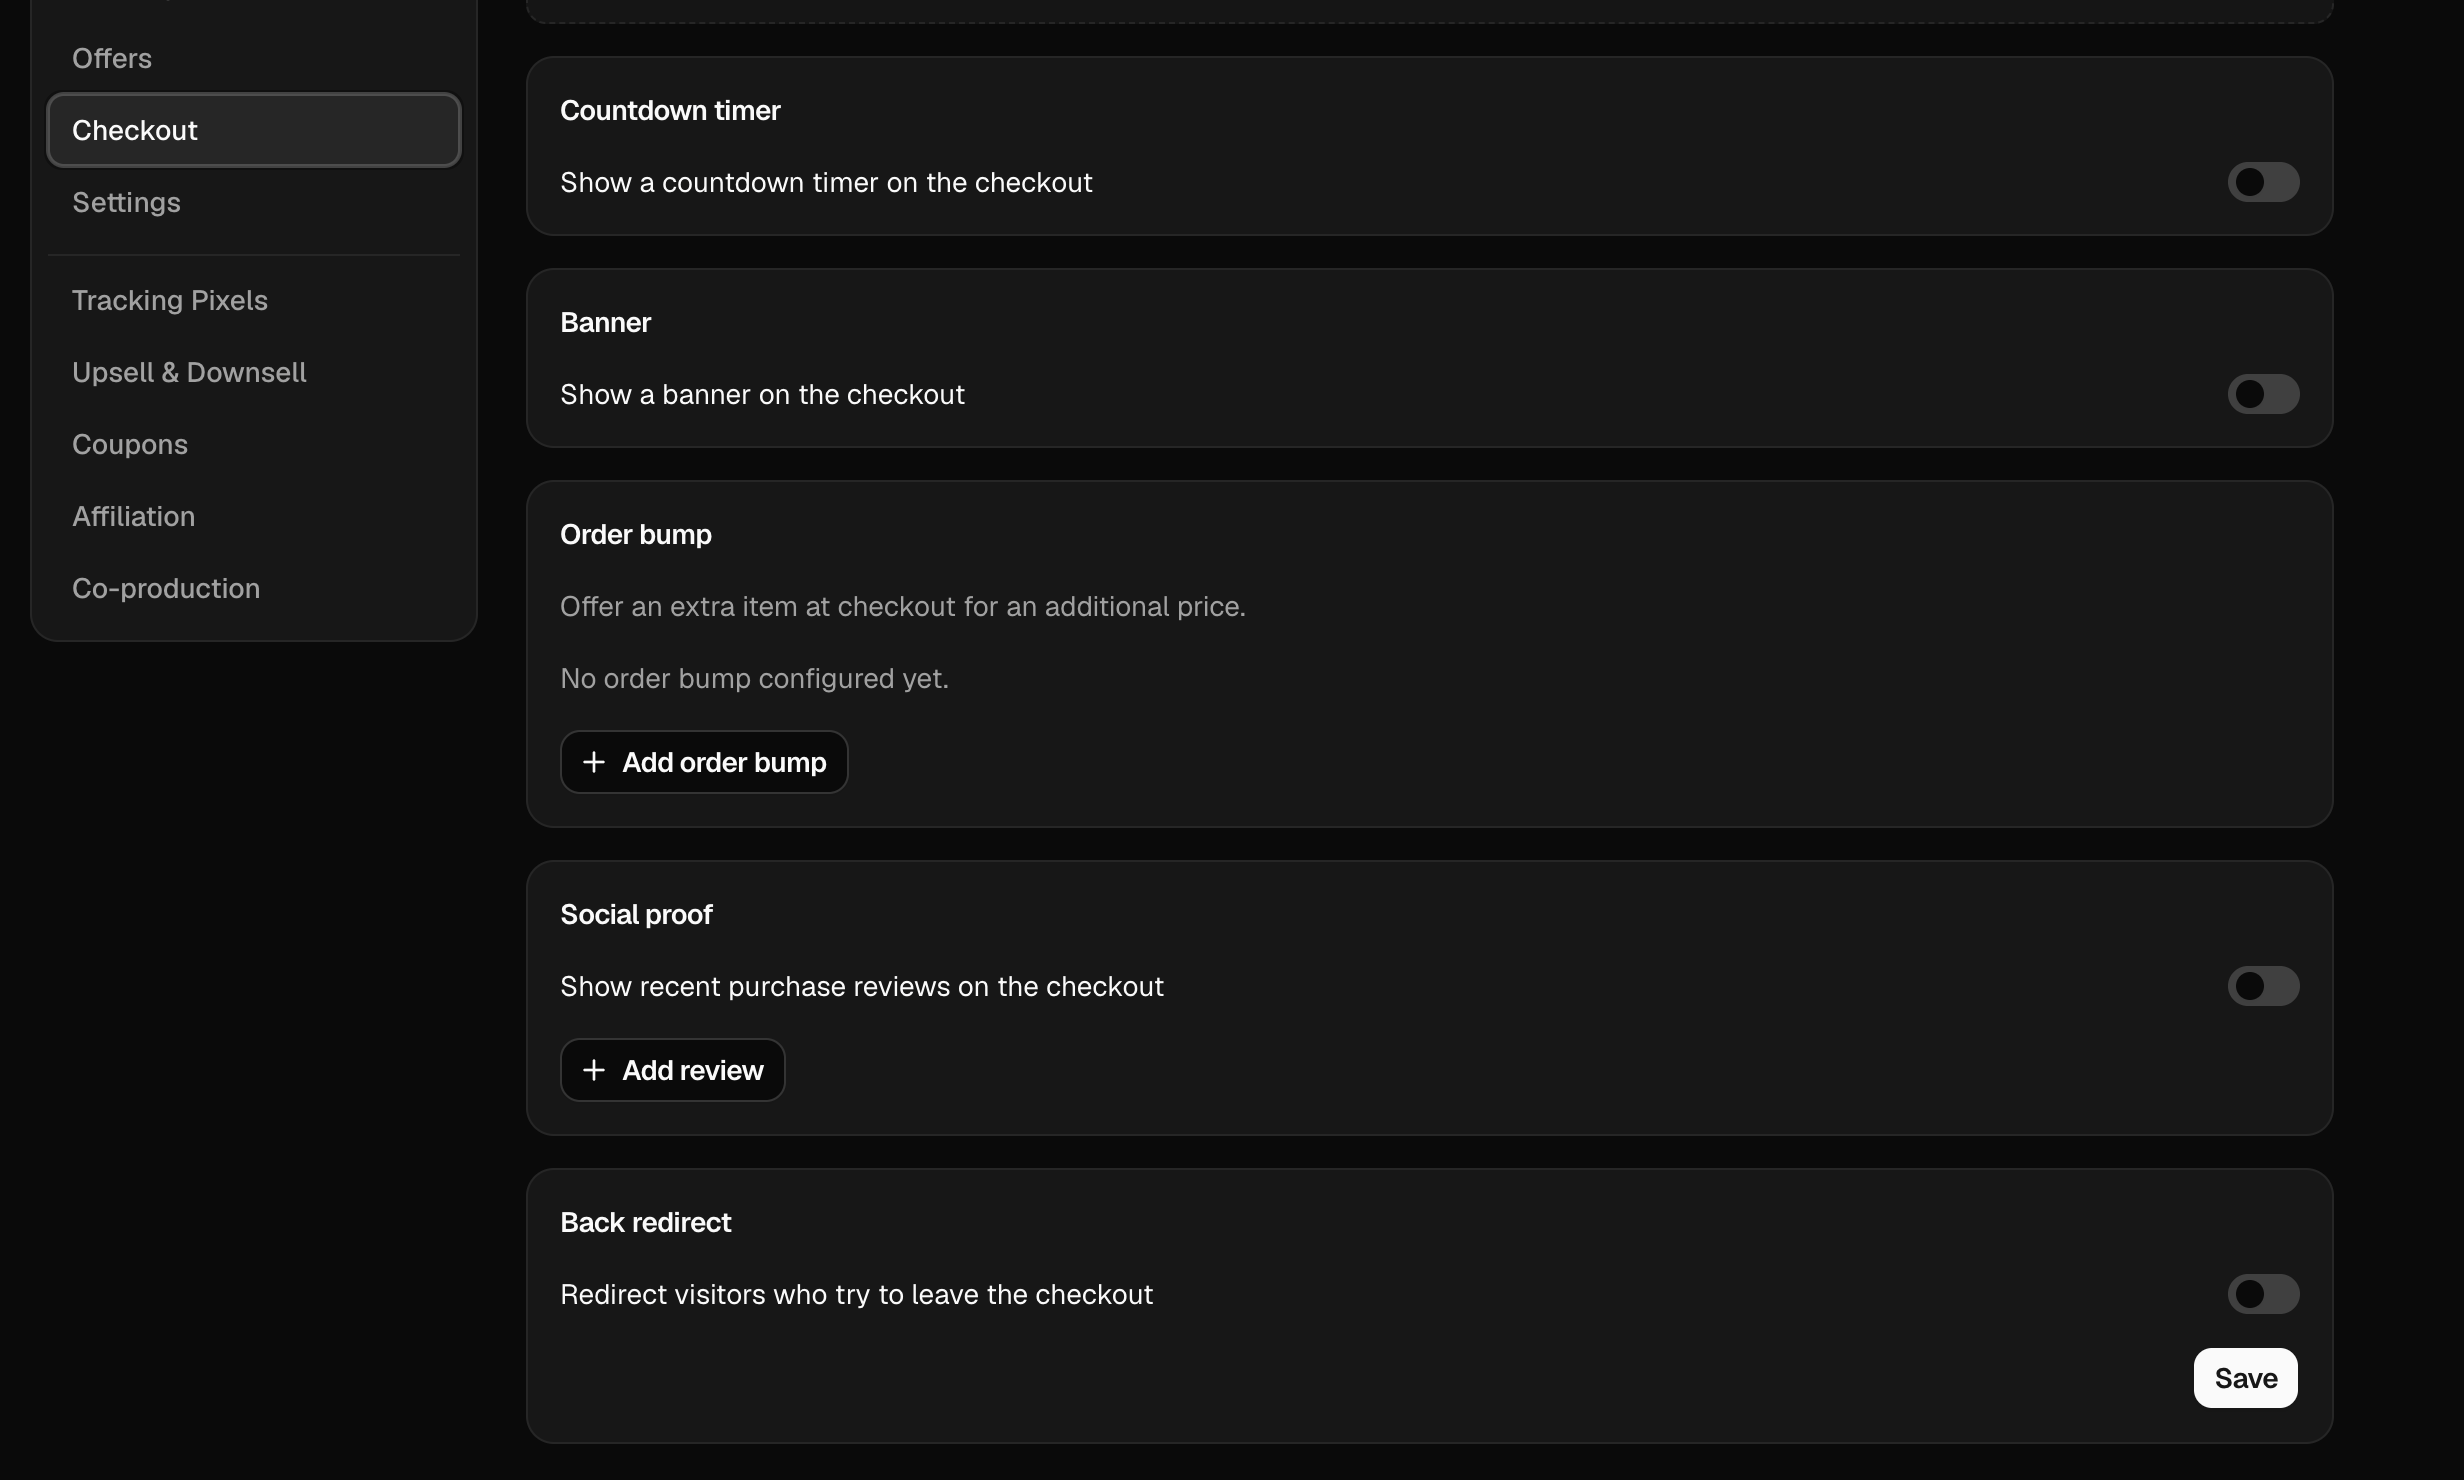
Each payment link can have its own checkout configuration.
This allows you to customize the experience customers see when they are ready to purchase.
Banner
Add a visual banner to your checkout to reinforce your offer or promotion.
A good banner can highlight the product, an important benefit, or a limited-time promotion.
Countdown Timer
Add a countdown timer to your checkout.
This can be used when you have a genuine time-limited promotion or offer.
Order Bumps
Add additional products to the checkout as optional purchases.
Order bumps allow customers to add another existing product to their order without leaving the checkout.
For example, if you're selling a main course, you could offer a related ebook as an additional purchase.
Social Proof
Display social proof on your checkout to help build trust with potential customers.
This can include customer feedback, testimonials, or other proof that supports your offer.
Only use authentic and accurate claims or testimonials.
Back Redirect
A Back Redirect controls what happens when a visitor attempts to leave the checkout using the browser's back button.
You can configure a destination to redirect the visitor to, such as your sales page or another relevant page.
Use this carefully and make sure the destination is relevant to the offer.
Settings
The Settings tab contains the general information and configuration for your product.
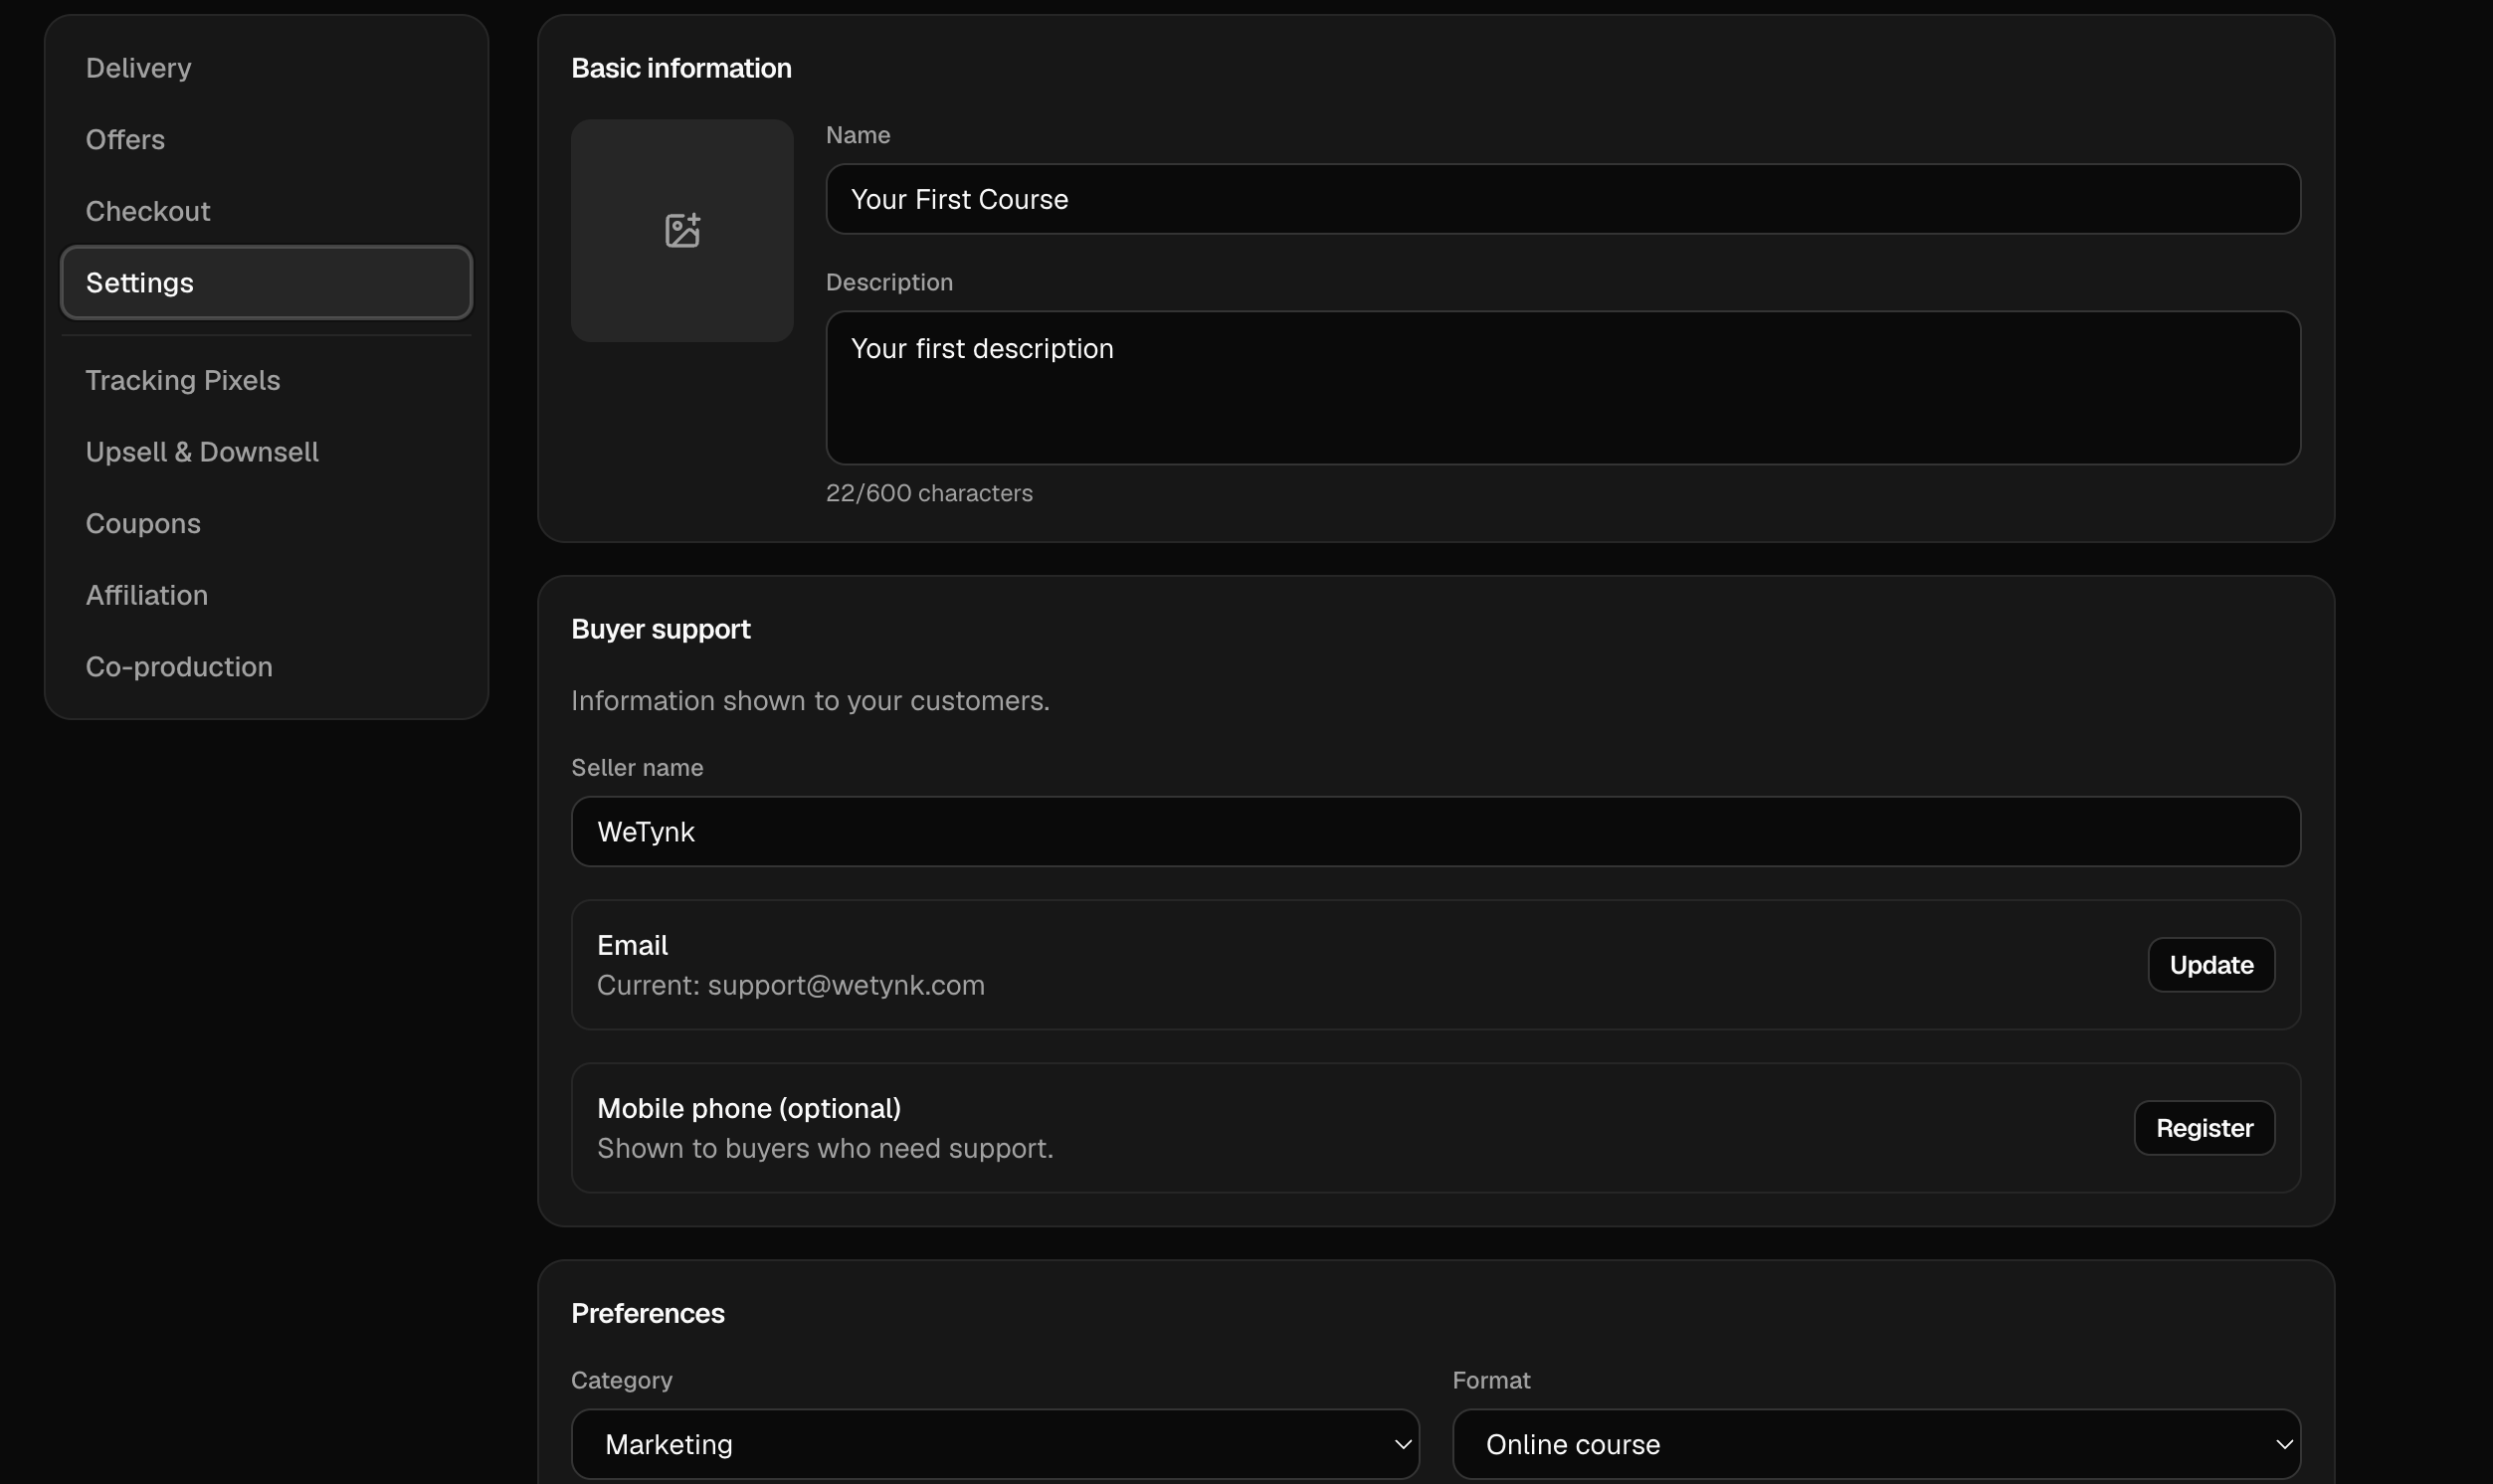
You can manage:
Product Image
Change the image associated with your product.
Product Name
Update the name displayed for your product.
Description
Edit the description of your product.
Support Contacts
Configure the contact information customers can use when they need help with their purchase.
Make sure your support information is accurate and monitored regularly.
Category
Choose or update the category that best matches your product.
Format
Specify the format of your product, such as the type of digital content you're providing.
Language
Set the primary language of your product.
Sales Page
Connect your product to a Sales Page.
This allows customers to move from your sales page to the corresponding purchase experience.
If you haven't created a Sales Page yet, you can create one separately and connect it to your product later.
Tracking Pixels
WeTynk allows you to add tracking pixels from platforms such as Google, Facebook, and other advertising or analytics services.
Tracking pixels can help you measure activity and understand how visitors interact with your pages.
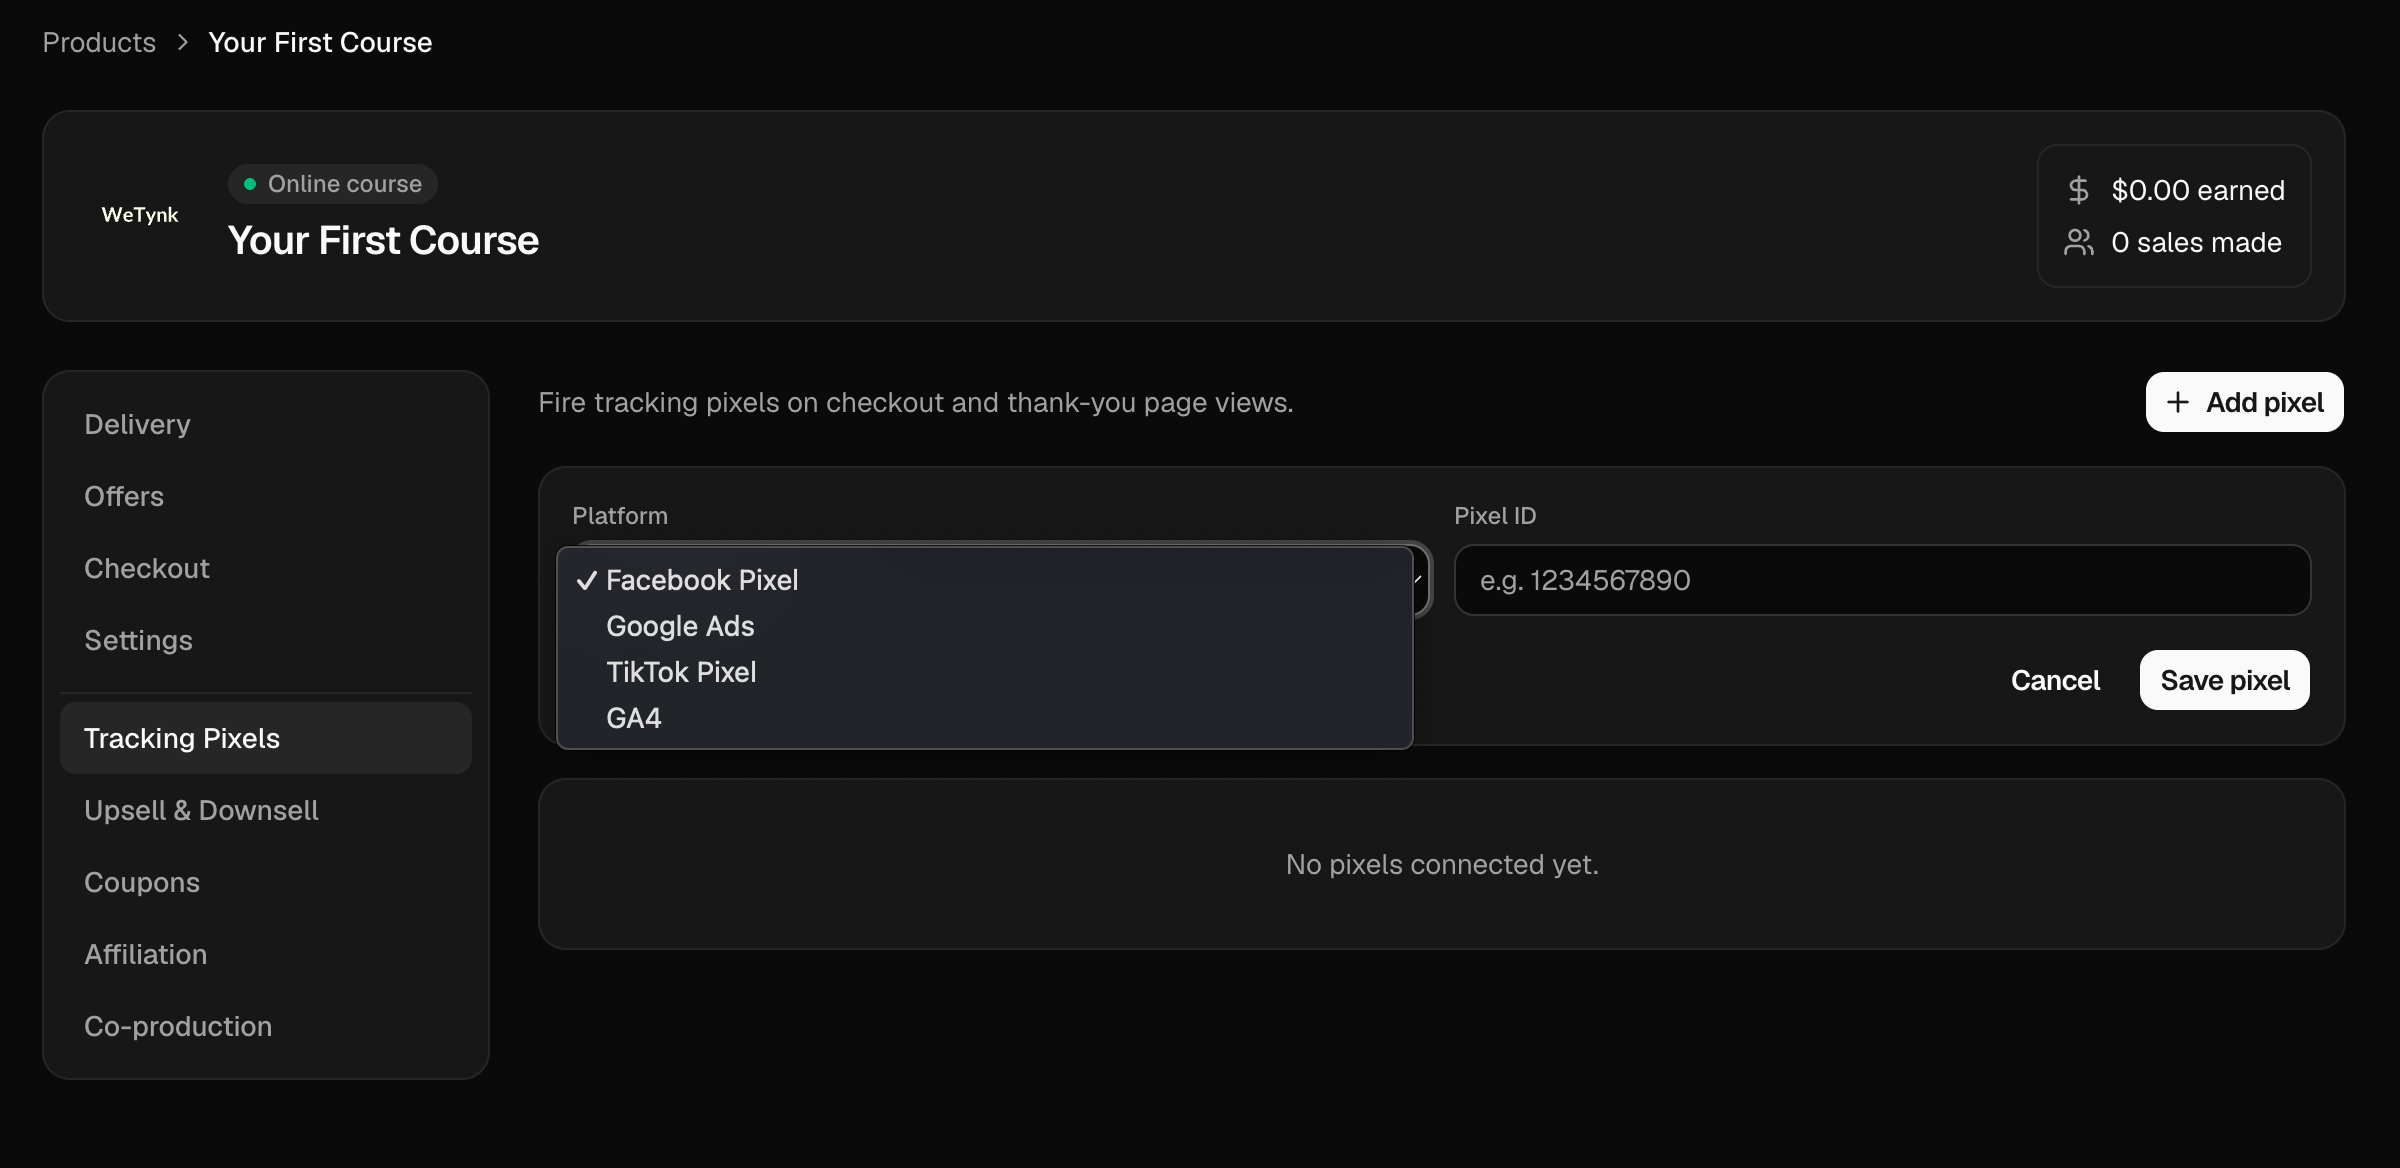
Depending on the platform you're using, pixels can be useful for:
Measuring conversions
Building audiences
Tracking campaign performance
Understanding visitor behavior
Optimizing advertising campaigns
Make sure you follow the applicable requirements and policies of each tracking provider when using their pixels.
Upsells and Downsells
You can configure additional offers that may be shown during the purchasing experience.
Upsell
An Upsell is an additional offer presented to a customer after they purchase or accept the initial offer.
For example, after purchasing a course, a customer could be offered a more advanced course.
Downsell
A Downsell is an alternative offer that can be presented when a customer doesn't accept the previous offer.
For example, you could offer a lower-priced version of a product.
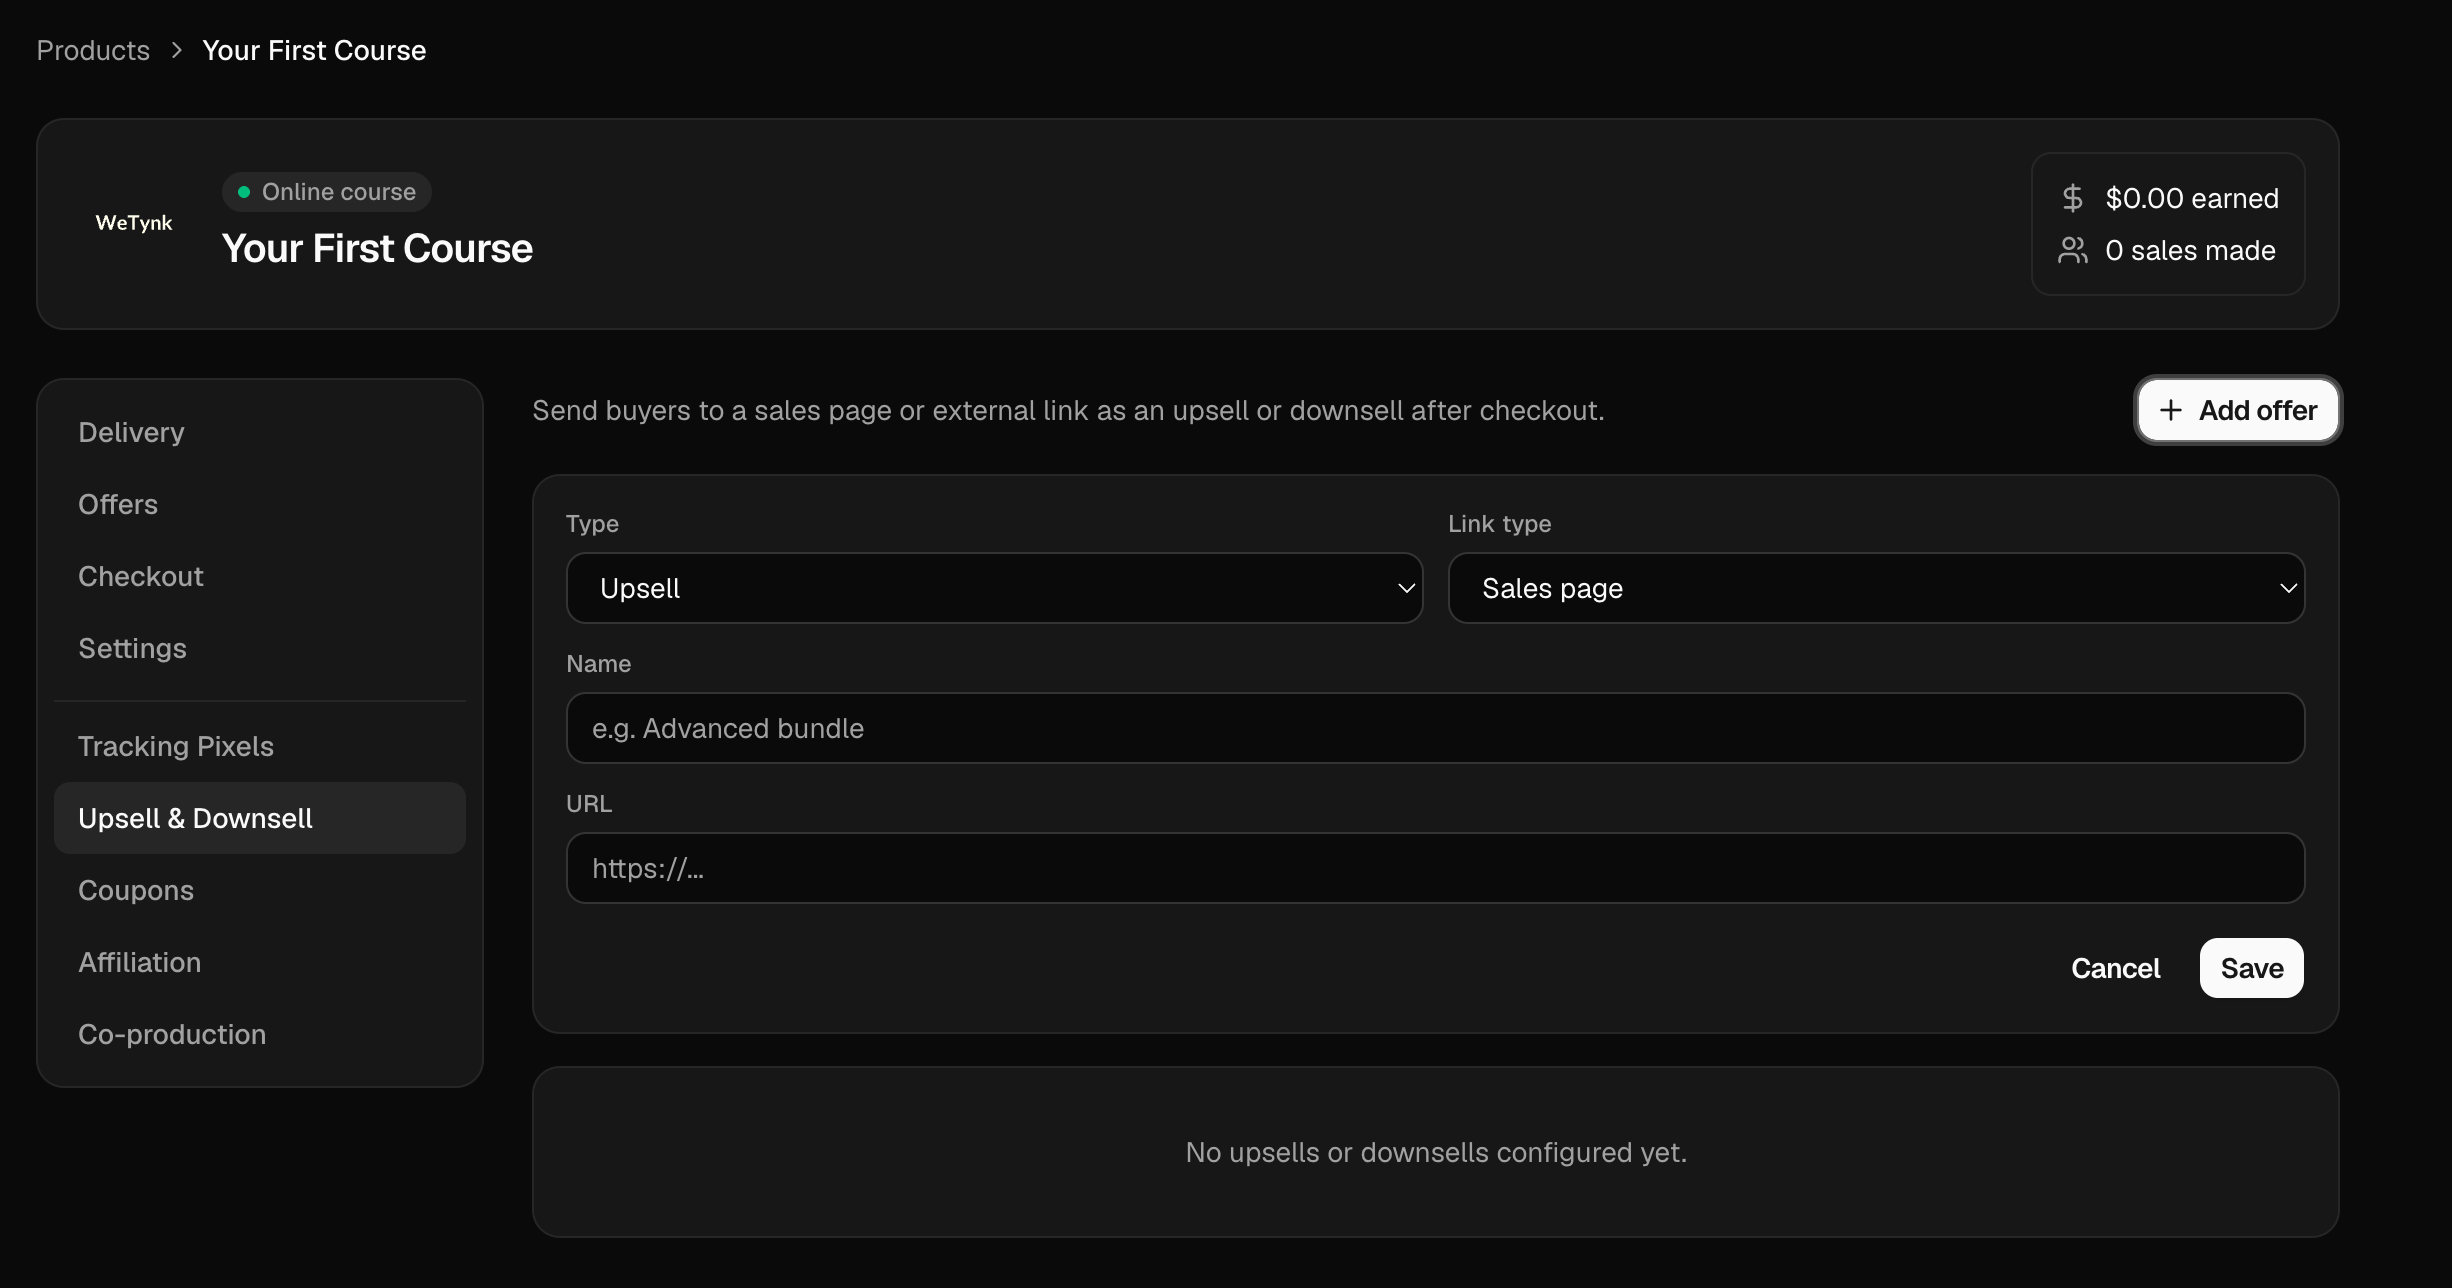
When creating an upsell or downsell, you'll configure:
Name
The name of the offer.
Type
Choose how the customer will access the offer:
Sales Page — send the customer to a WeTynk Sales Page.
External Link — send the customer to an external URL.
Use these offers to create a relevant next step for your customers rather than presenting unrelated products.
Coupons
You can create discount coupons for your product.
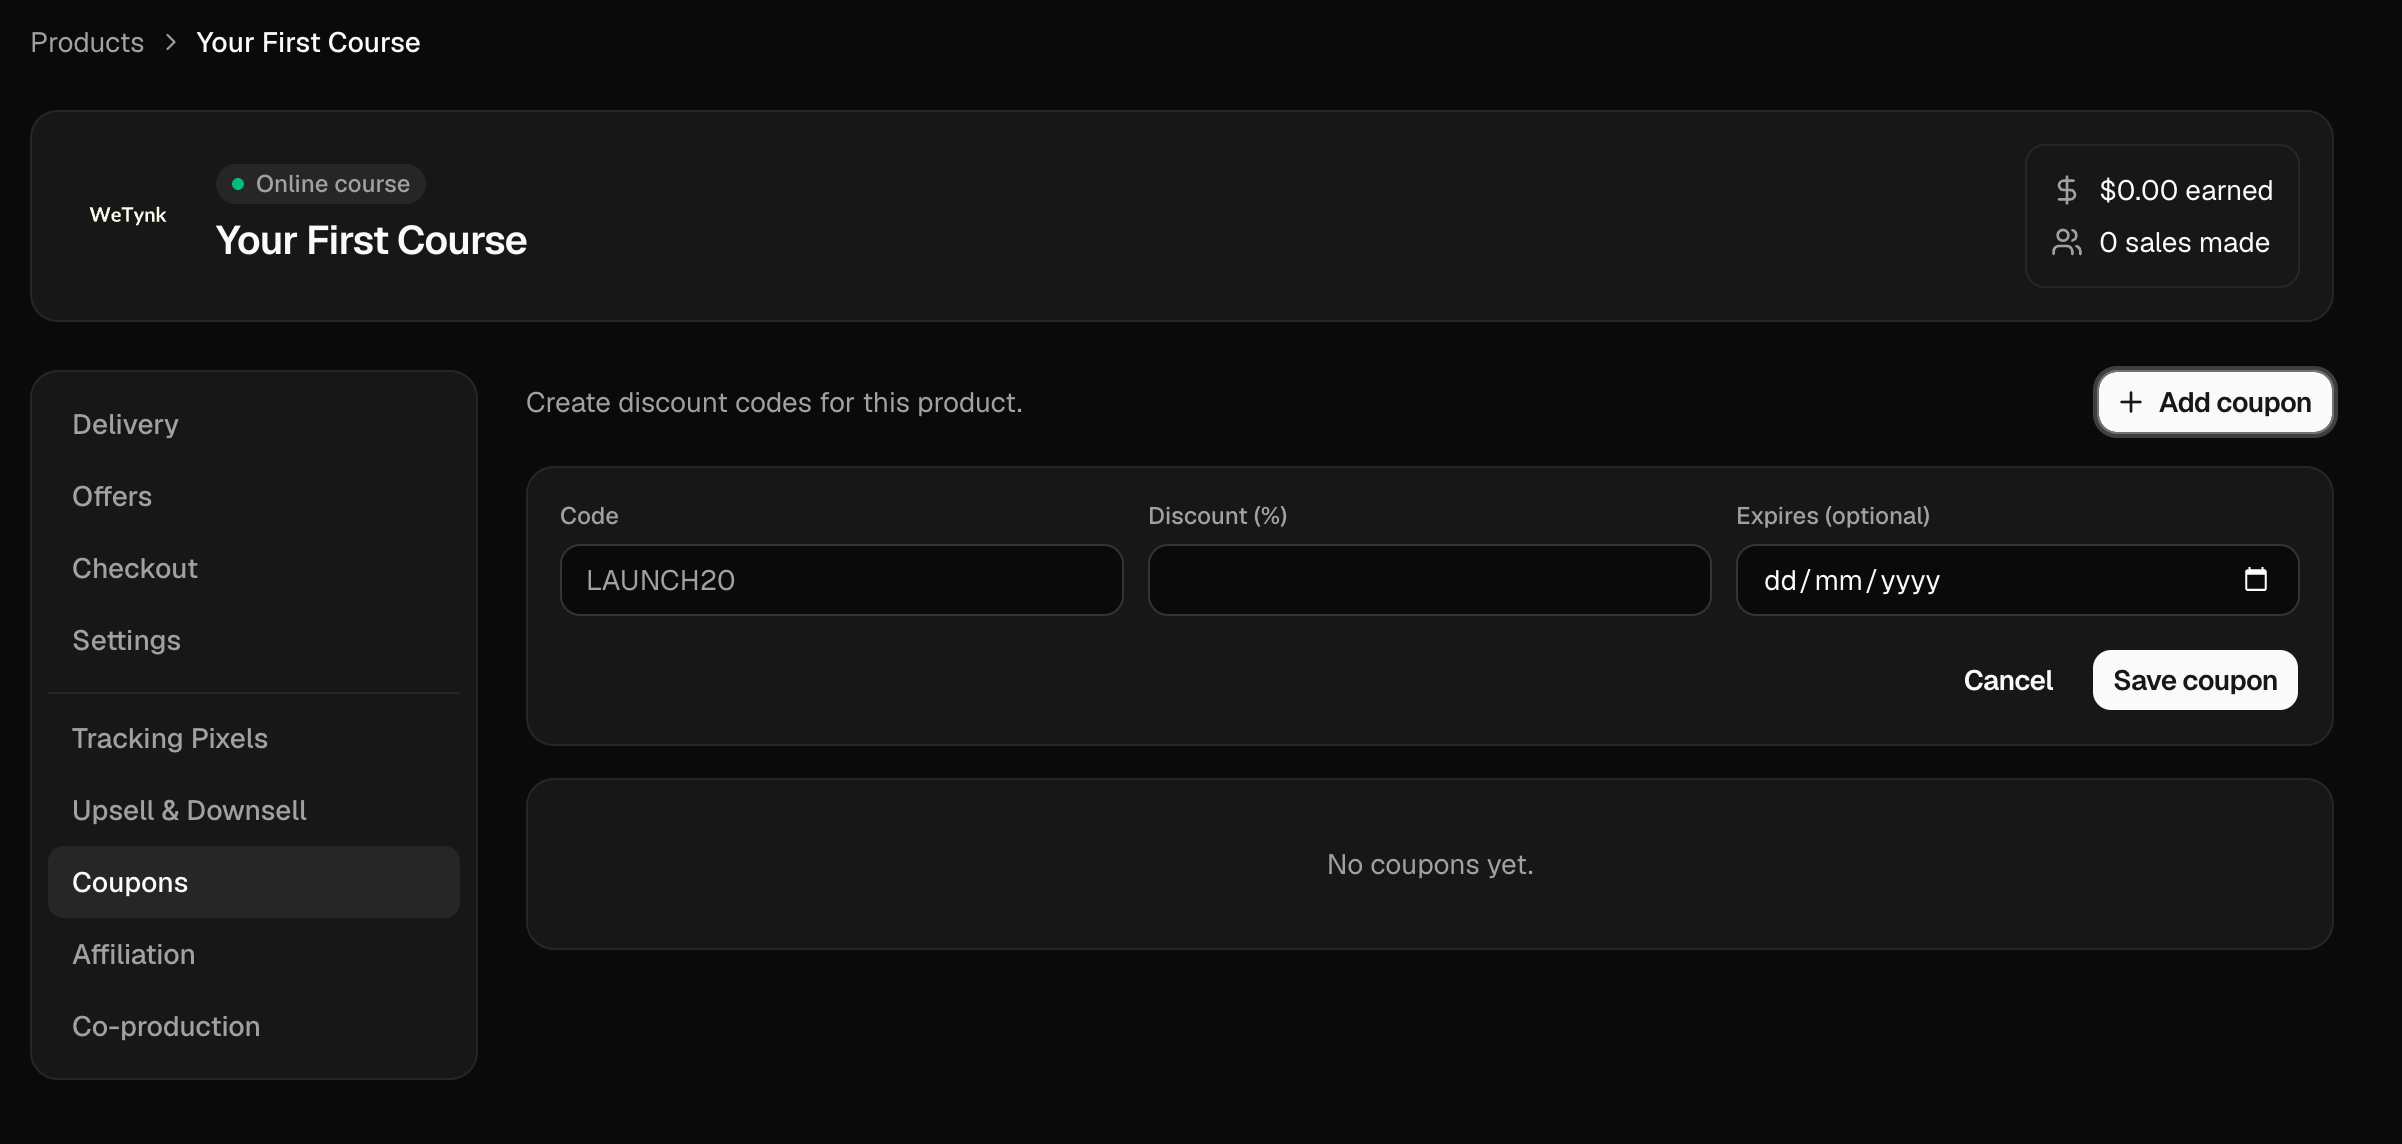
When creating a coupon, you'll configure:
Coupon Code
Set the code customers will enter to receive the discount.
For example:
WELCOME20
Expiration Date
Set the date when the coupon will stop being valid.
Discount
Choose the amount of discount you want to offer.
Coupons can be useful for launches, promotions, special campaigns, or exclusive offers.
Affiliation
The Affiliation section allows you to make your product available for affiliates.
When enabled, your product can appear in the WeTynk Explore area where potential affiliates can discover it and choose to promote it.
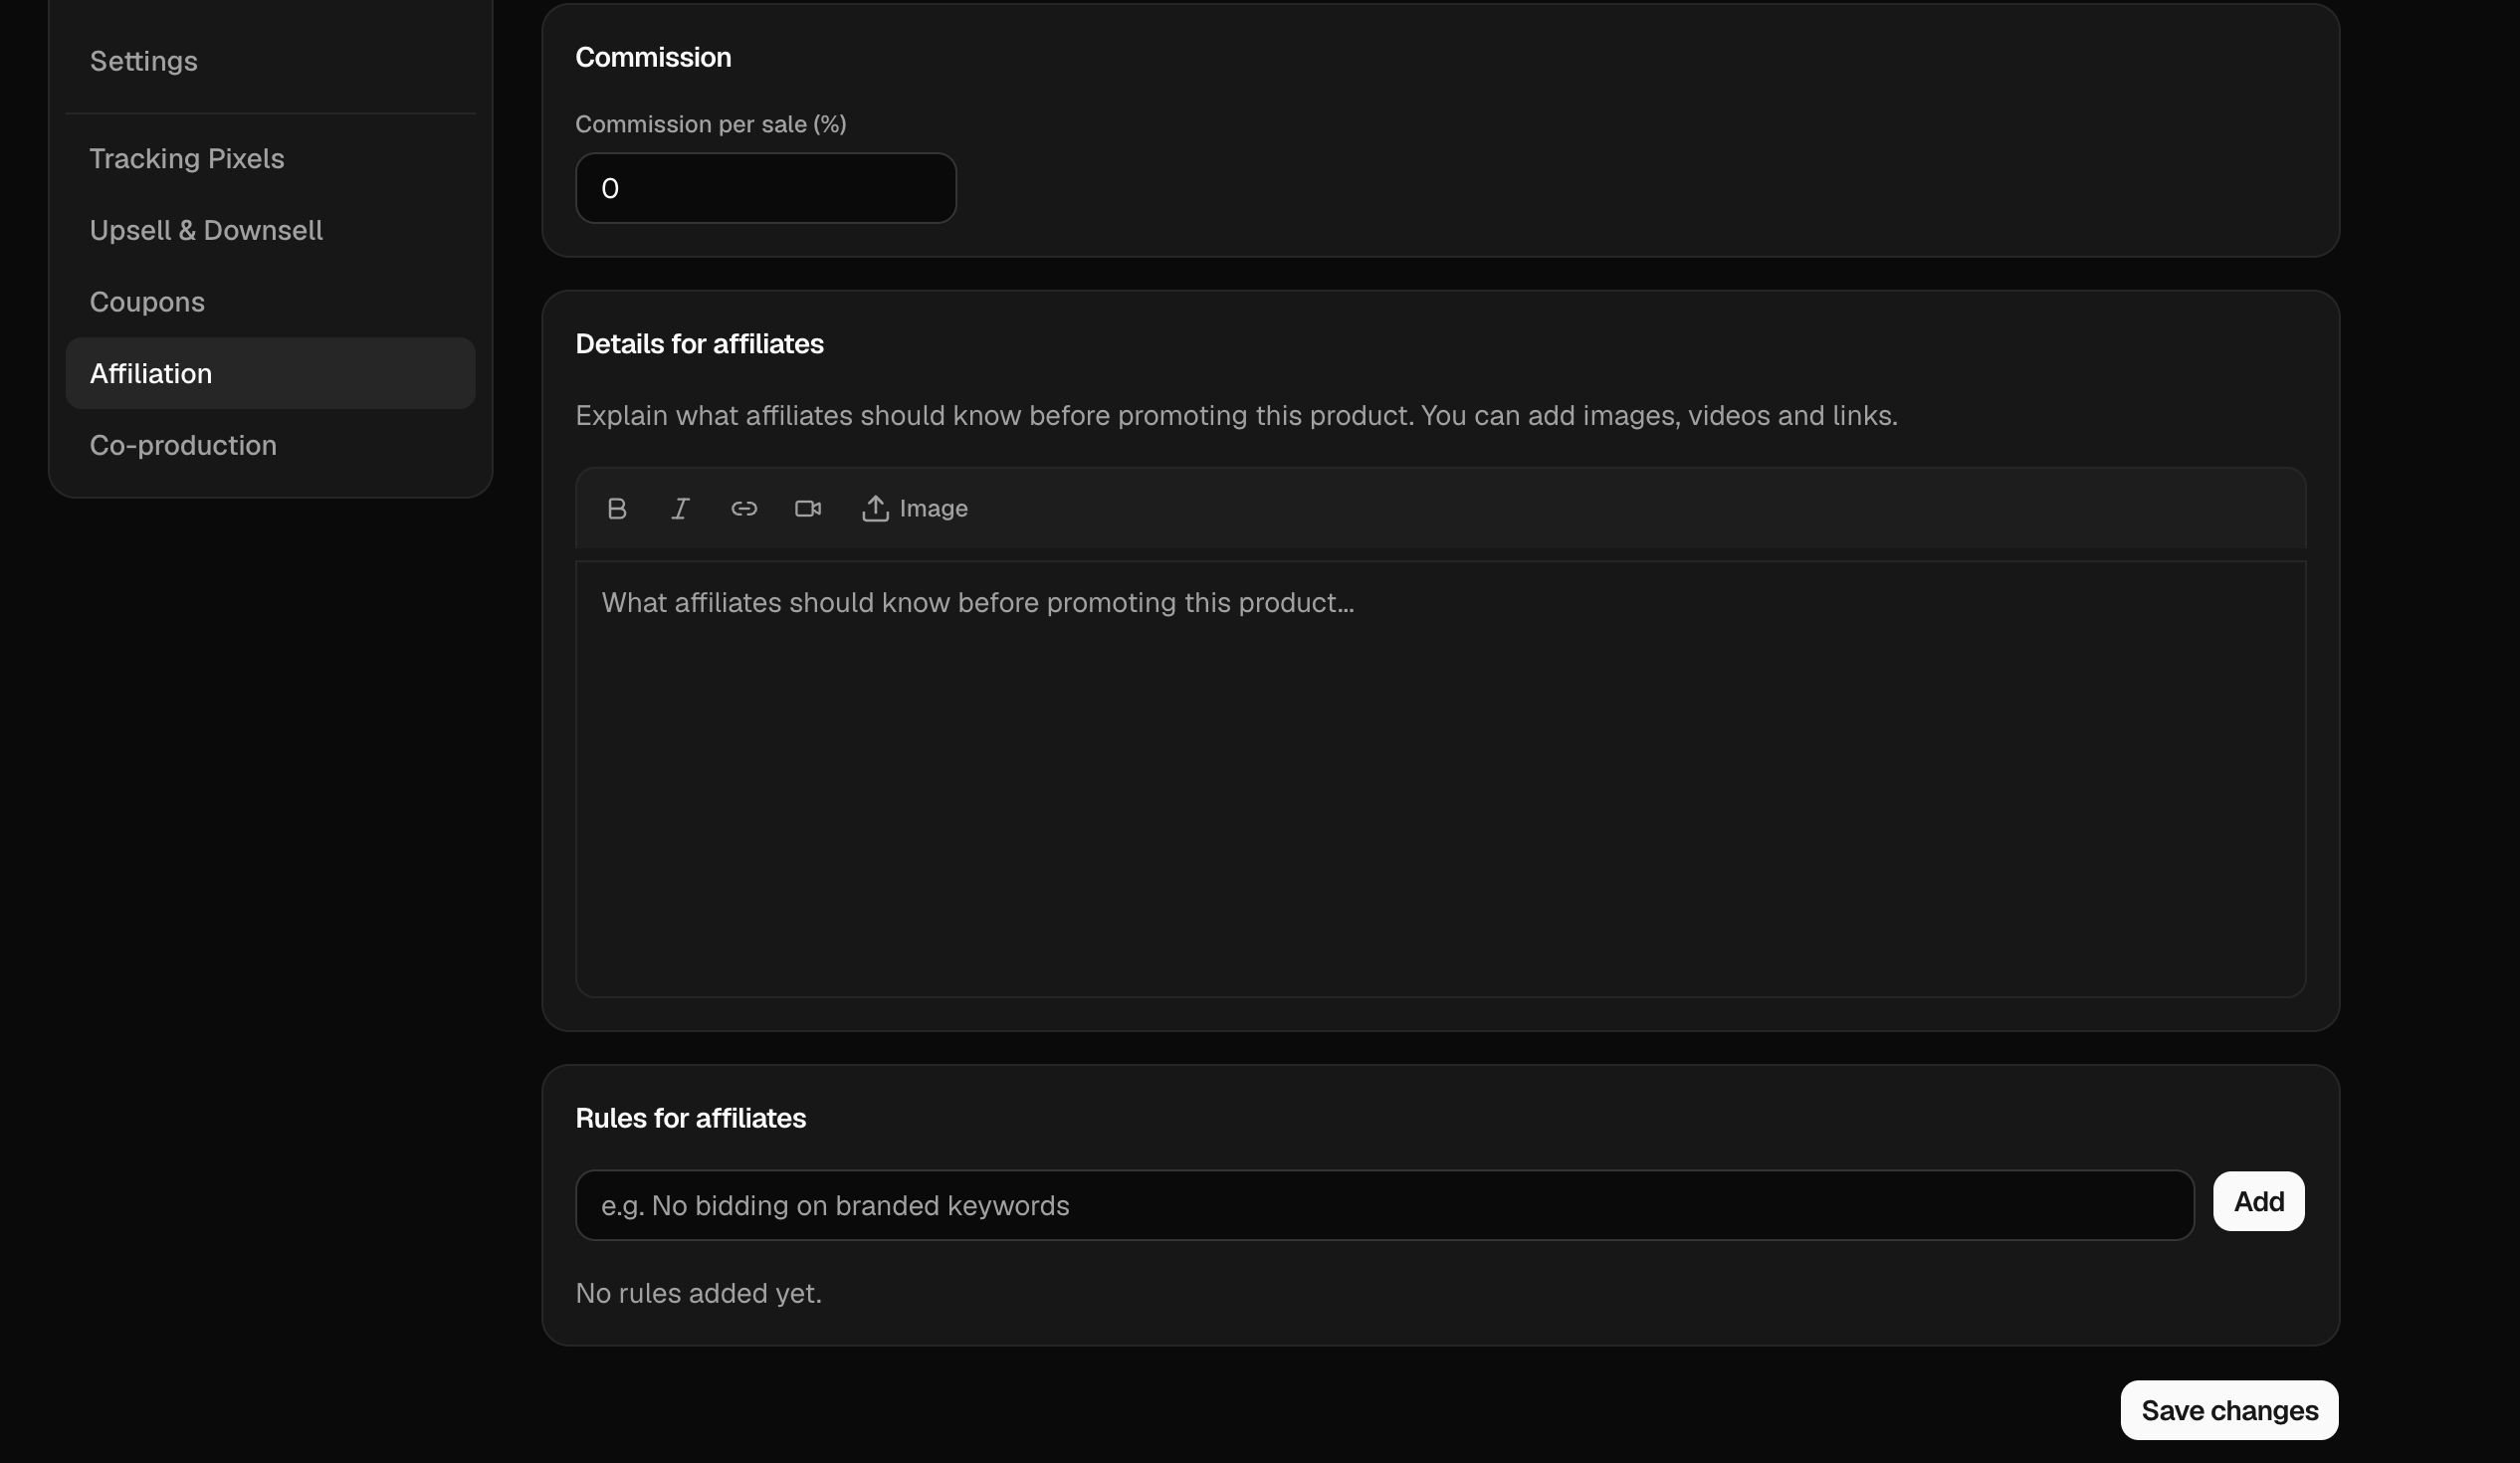
Affiliates can then promote your product to their own audiences and earn commissions according to the terms you've configured.
We'll cover the affiliate system in more detail in the next guide.
Co-Production
Co-Production allows you to share a percentage of your product's sales with another person.
You can add a co-producer and define the percentage they will receive.
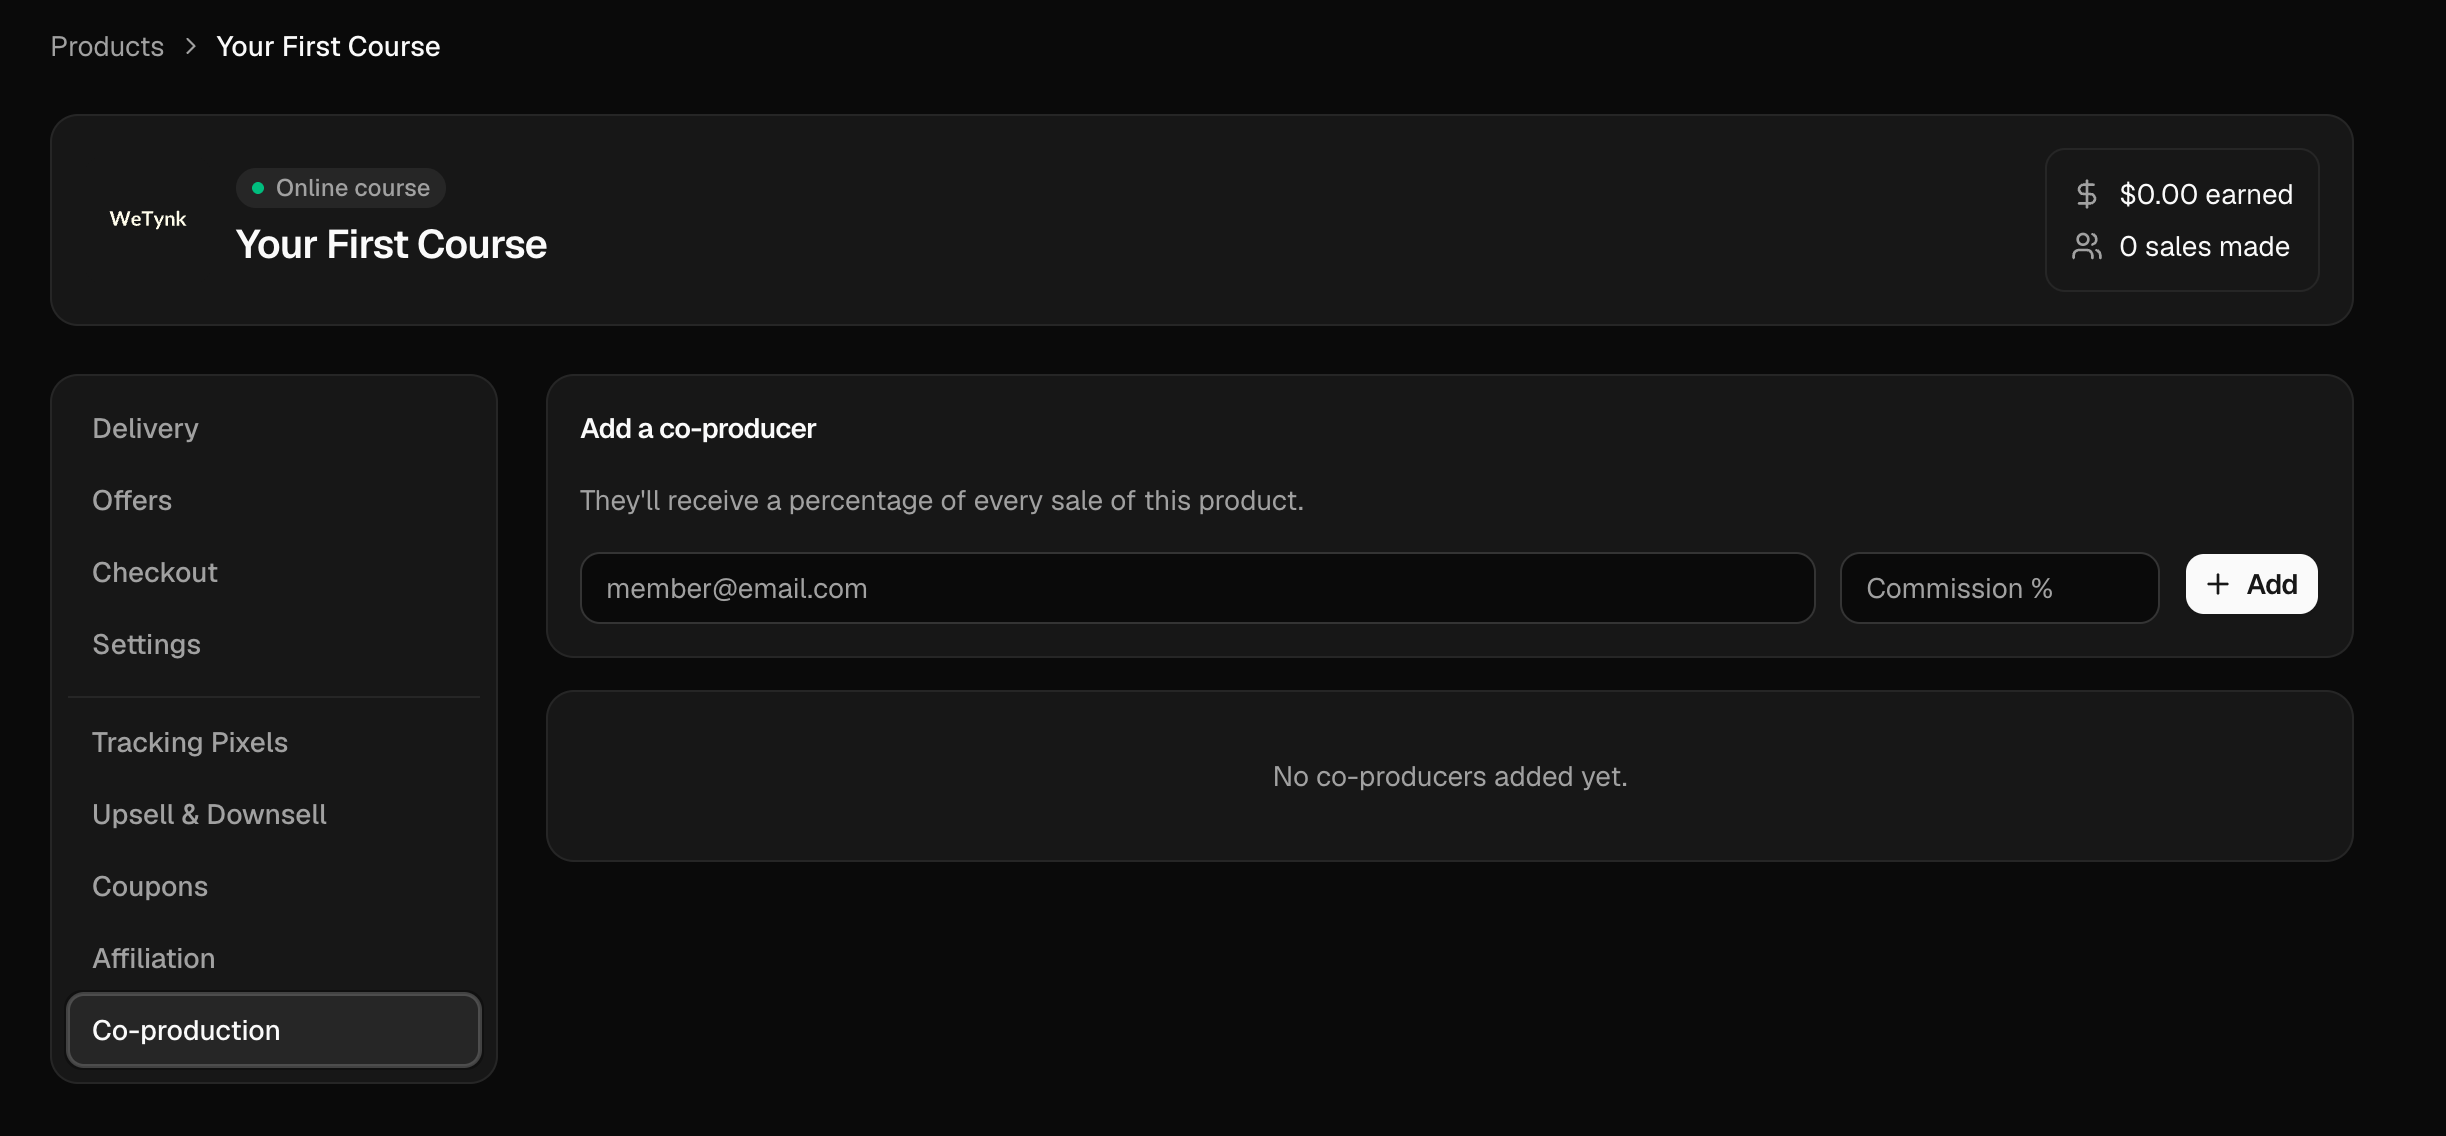
The co-producer will receive the configured percentage of every sale of this product.
This can be useful when you're working with a partner, instructor, creator, or another person who contributes to the product.
Make sure the percentage and recipient information are correct before enabling Co-Production.
You're ready to sell
Once you've configured your delivery, offers, checkout, settings, and any additional features you need, your product is ready for the next stage.
Before sending traffic to your offer, we recommend testing the complete customer experience.
Check that:
Your payment links work
Your checkout looks correct
Your delivery methods work
Your files can be accessed
Your Member Area is connected correctly
Your external links work
Your upsells and downsells are configured correctly
Your coupons work as expected
Your support information is accurate
Once everything is working as expected, you're ready to start sending customers to your offer.
Next: Affiliates
Learn how the WeTynk affiliate system works and how to make your products available for affiliates to promote.
More in Getting Started
Welcome to WeTynk
A quick overview of what you can do on the platform.
Creating your product with WeTynk Labs
Have an idea for a digital product but don't know where to start? WeTynk Labs helps you
Adding Your Course to WeTynk
In this guide, you'll learn how to create your product, add its information, configure how customers will receive it, and set its price and support details